Step by Step Guide: 7 Smart Ways to Save Money and Prep for Your Welding Repair.
Step by Step Guide: 7 Smart Ways to Save Money and Prep for Your Welding Repair with JonnySWeld
Why Preparing for Your Welding Repair Matters
In today's fast-paced world, time and money are invaluable—especially when it comes to essential tasks like welding repairs. Whether you're fixing a lawn mower deck, a broken chair, or a small trailer, proper preparation can lead to significant savings. Being ready allows your welder to focus on delivering a durable repair without unnecessary delays.
Welding is both an art and a skill. Just as every great artist thrives with a well-prepared canvas, a welder like JonnySWeld achieves optimal results when the project is prepped and ready. This approach minimizes delays and reduces costs, providing immense value for any repair or fabrication project.
This guide is tailored for DIYers, contractors, small business owners, and residents around Canonsburg or Washington County seeking top-notch welding services without overspending. Let's explore simple steps that lead to substantial savings and superior, faster repairs.
TL;DR: Checklist to Get Welding Repair Ready
Here's a quick preview of what you'll learn in this guide:
Prepare a repair plan before contacting your welder.
Remove flammable or removable parts early.
Clean the work surface of grease, oil, and paint.
Plan to drop off your item well before the deadline.
Communicate your questions clearly during the repair process.
Agree on a realistic repair timeline upfront.
Collaborate with your welder for a smooth repair experience.
Now, let's dive into each step in detail.
Step 1: Have a Clear and Detailed Plan
Why It Counts: Help Your Welder Understand Your Needs
Every welding repair has its unique context: How did the damage occur? What function will the item serve post-repair? Does the weld need to be flush? Sharing these details enables your welder to craft a solution tailored to your needs. Without clear instructions, you risk re-dos or issues.
How to Explain Your Weld Goals and Avoid Issues
Begin by describing how the item will be used after the repair. For instance, if you're repairing a chair, will it regularly support heavy weight? Providing such details allows your welder to reinforce the structure appropriately. It's also beneficial to mention if the finished surface should be smooth or if additional features can be added without interfering with other parts.
Examples of Special Requirements
A clear plan prevents surprises like "I forgot to mention the weld can't block the screws!" or "I need this part completely flush!" Drafting a rough plan beforehand acts like a quick blueprint, saving time later on.
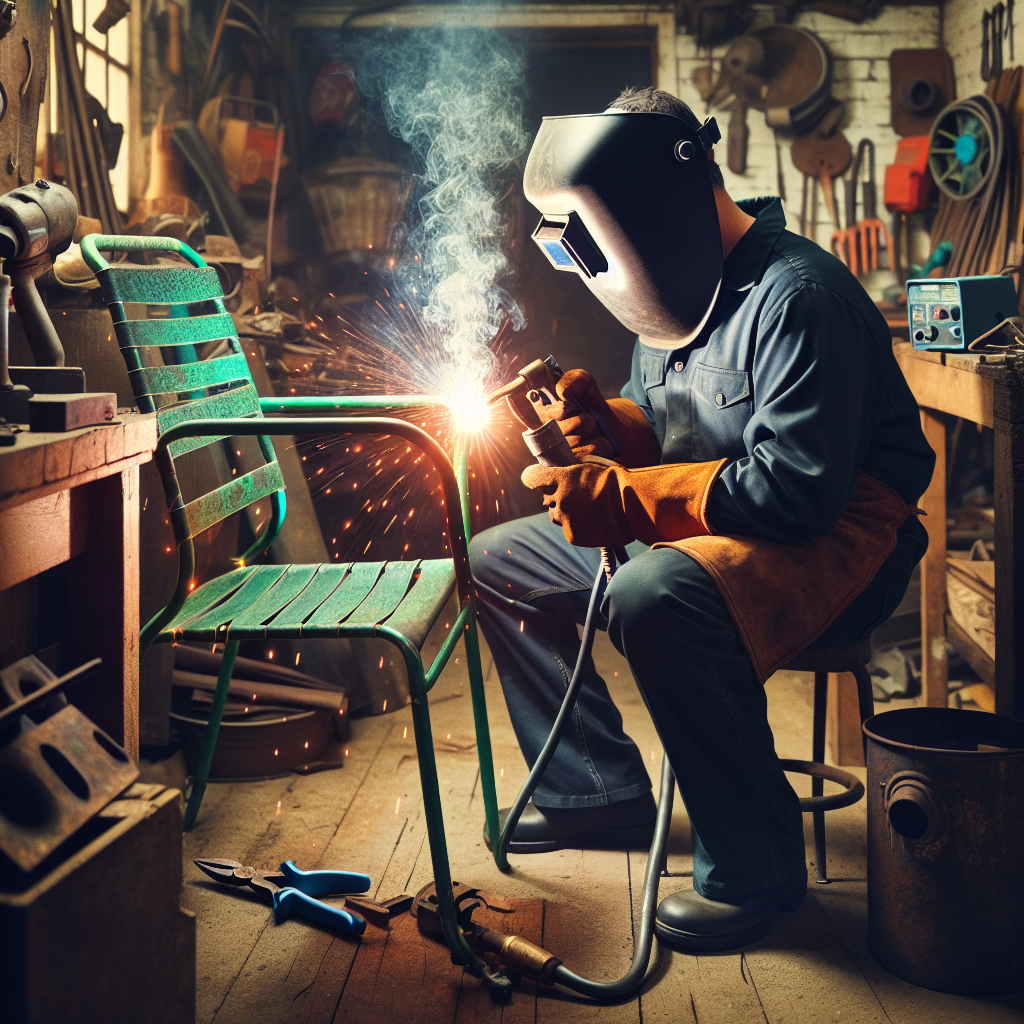
Step 2: Remove Flammable and Plastic Parts
Why Safety Should Be Your Top Priority
Welding involves extreme heat and flying sparks. Materials like plastic, leather, and other flammable components near the welding zone can quickly become hazards. Moreover, melted plastics are challenging to clean up.
Steps to Safely Remove Plastics, Wheels, and Small Components
Inspect all parts around the weld site. Are there plastic levers on your lawn mower deck? Or flammable coatings or fabric cushions? Carefully remove these before dropping off your item.
How to Save Costs by Prepping Beforehand
While your welder can remove parts for you, doing so at their hourly rate can be costly. By disassembling components yourself, you save money and expedite the process.
Step 3: Clean Grease and Oils from the Surface
The Danger of Welding Over Dirty Surfaces
Grease or oil on metal not only weakens the weld but also produces harmful fumes. Clean surfaces lead to stronger, more durable welds.
DIY Cleaning: Tools and Techniques for Best Results
Use degreasers, rags, and wire brushes to clean the project area yourself. Be thorough but gentle—damaging the parts through overzealous cleaning isn't ideal.
How This Saves Time and Reduces Welding Costs
Cleaning before arriving at the shop speeds up the repair and allows your welder to focus on their craft, not prep work.
Step 4: Remove Paint for a Clean Welding Surface
Why Paint Should Be Removed from Welding Areas
Paint acts as a barrier that prevents the weld from fully bonding to the metal. Additionally, heated paint releases dangerous fumes and toxins into the air.
Safe Paint-Removal Tips: Ventilation and Safety Masks
When removing paint, always work in a well-ventilated space. Use goggles, gloves, and a mask to stay safe while using tools like wire brushes or grinders.
How Much Paint to Remove (and Why)
Even if you think you've removed enough paint, double-check. Clean surfaces result in seamless and reliable welds. Aim to clear at least ½ inch around the welding zone.
Step 5: Plan Ahead for Drop-Off and Deadlines
Avoid the Pitfalls of Last-Minute Repairs
Rushed projects can lead to corners being cut—or worse, weld failures. Dropping off your project early gives your welder ample time to deliver quality work.
How Setting Early Drop-Offs Ensures Better Work Quality
Plan to deliver your project at least a week before your desired deadline. This provides your welder the time needed to assess, prepare, and complete the repair properly.
Finding the Sweet Spot for Repair Timing
Avoid emergency repairs unless absolutely necessary. This approach prevents unnecessary costs and ensures stress-free service.
Step 6: Ask Questions—Don't Be Shy!
Why Open Communication Ensures a Better Result
Welders have their own techniques and best practices. Asking the right questions can clarify potential misunderstandings and improve your overall results.
Key Questions to Ask During the Welding Process
How strong will this repair be under strain?
Is there a simpler, more cost-effective option?
What's the best maintenance advice for this repair?
How JonnySWeld Builds Trust Through Interaction
At JonnySWeld, we pride ourselves on honest collaboration. Your questions give us the opportunity to ensure you're satisfied with the repair process and results.
Step 7: Plan Ahead for a Finish Date
The Importance of Setting and Tracking Deadlines
Setting a deadline keeps both you and your welder on track. Even if you're relaxed about timing, agreeing on a completion date helps maintain organization.
How to Work with Your Welder on a Realistic Timeline
Be upfront about when you need your item, but stay flexible. Top-notch welds often require careful attention to detail, and some extra time is worth it.
What Flexibility in Timelines Means for You
When you're not rushing, the weld is more durable and reliable. A smooth timeline leads to excellent craftsmanship.
Pro Tips and Recommended Tools for Better Preparation
Tools for Cleaning and Paint Removal: Wire brushes, grinders, and degreasers from your local hardware store can help.
Safety Gear You'll Need: Masks, goggles, and gloves are essential when preparing your items.
Need Help Picking Tools? Ask JonnySWeld—we're happy to guide you!
Conclusion: Why Being Prepared Saves You Time, Money, and Stress
Simple preparation saves you money and results in faster, better repairs. Clean surfaces, proper communication, and thoughtful timelines create ideal outcomes.
Winning Strategies Recap:
Prepare a detailed repair plan.
Clean and disassemble your item.
Communicate openly with your welder.
If you're in Canonsburg or Washington County searching for excellent welding services, reach out to JonnySWeld. We'll get it done—together!
jonnysweld #jonnysweld welding #welding canonsburg #canonsburg #WashingtonCounty Washington County